How Do I Plant Lavender in My Garden or Indoors?
Lavender is a versatile and fragrant plant that can thrive both outdoors and indoors if planted and cared for properly. This step-by-step guide will help you plant lavender in your garden and indoors, ensuring beautiful blooms and a healthy plant.

Planting Lavender in Your Garden
Step 1: Choose the Right Spot
Select a location that receives full sunlight for at least 6-8 hours a day. Lavender thrives in bright, warm conditions.
Ensure the soil is well-draining. Lavender does not tolerate waterlogged soil, so avoid areas prone to standing water.
Step 2: Prepare the Soil
Test your soil’s pH level; lavender prefers slightly alkaline soil (pH 6.5-8). Amend heavy or clay soils with sand or gravel to improve drainage. Work in a bit of compost to provide nutrients, but avoid over-fertilizing as lavender prefers lean soil.
Step 3: Dig the Hole
Dig a hole twice as wide as the lavender’s root ball but only as deep as the plant’s roots.Space multiple plants about 2-3 feet apart to allow for proper airflow and growth.
Step 4: Plant Your Lavender
Gently remove the lavender from its pot and loosen the roots slightly if they are compacted. Place the plant in the hole so that the base of the stem is at the soil level. Backfill the hole with soil, pressing gently to eliminate air pockets.
Step 5: Water Sparingly
Water thoroughly immediately after planting to settle the soil. Once established, water only when the soil is dry to avoid overwatering.
Step 6: Mulch (Optional)
Apply a layer of light-colored mulch, like gravel or coarse sand, around the base of the plant to reflect heat and prevent weeds. Avoid organic mulches like bark, as they retain moisture.
Step 7: Monitor and Prune
Check for signs of overwatering or root rot. Lavender is drought-tolerant and prefers dry conditions. Prune annually in early spring to shape the plant and remove dead stems.
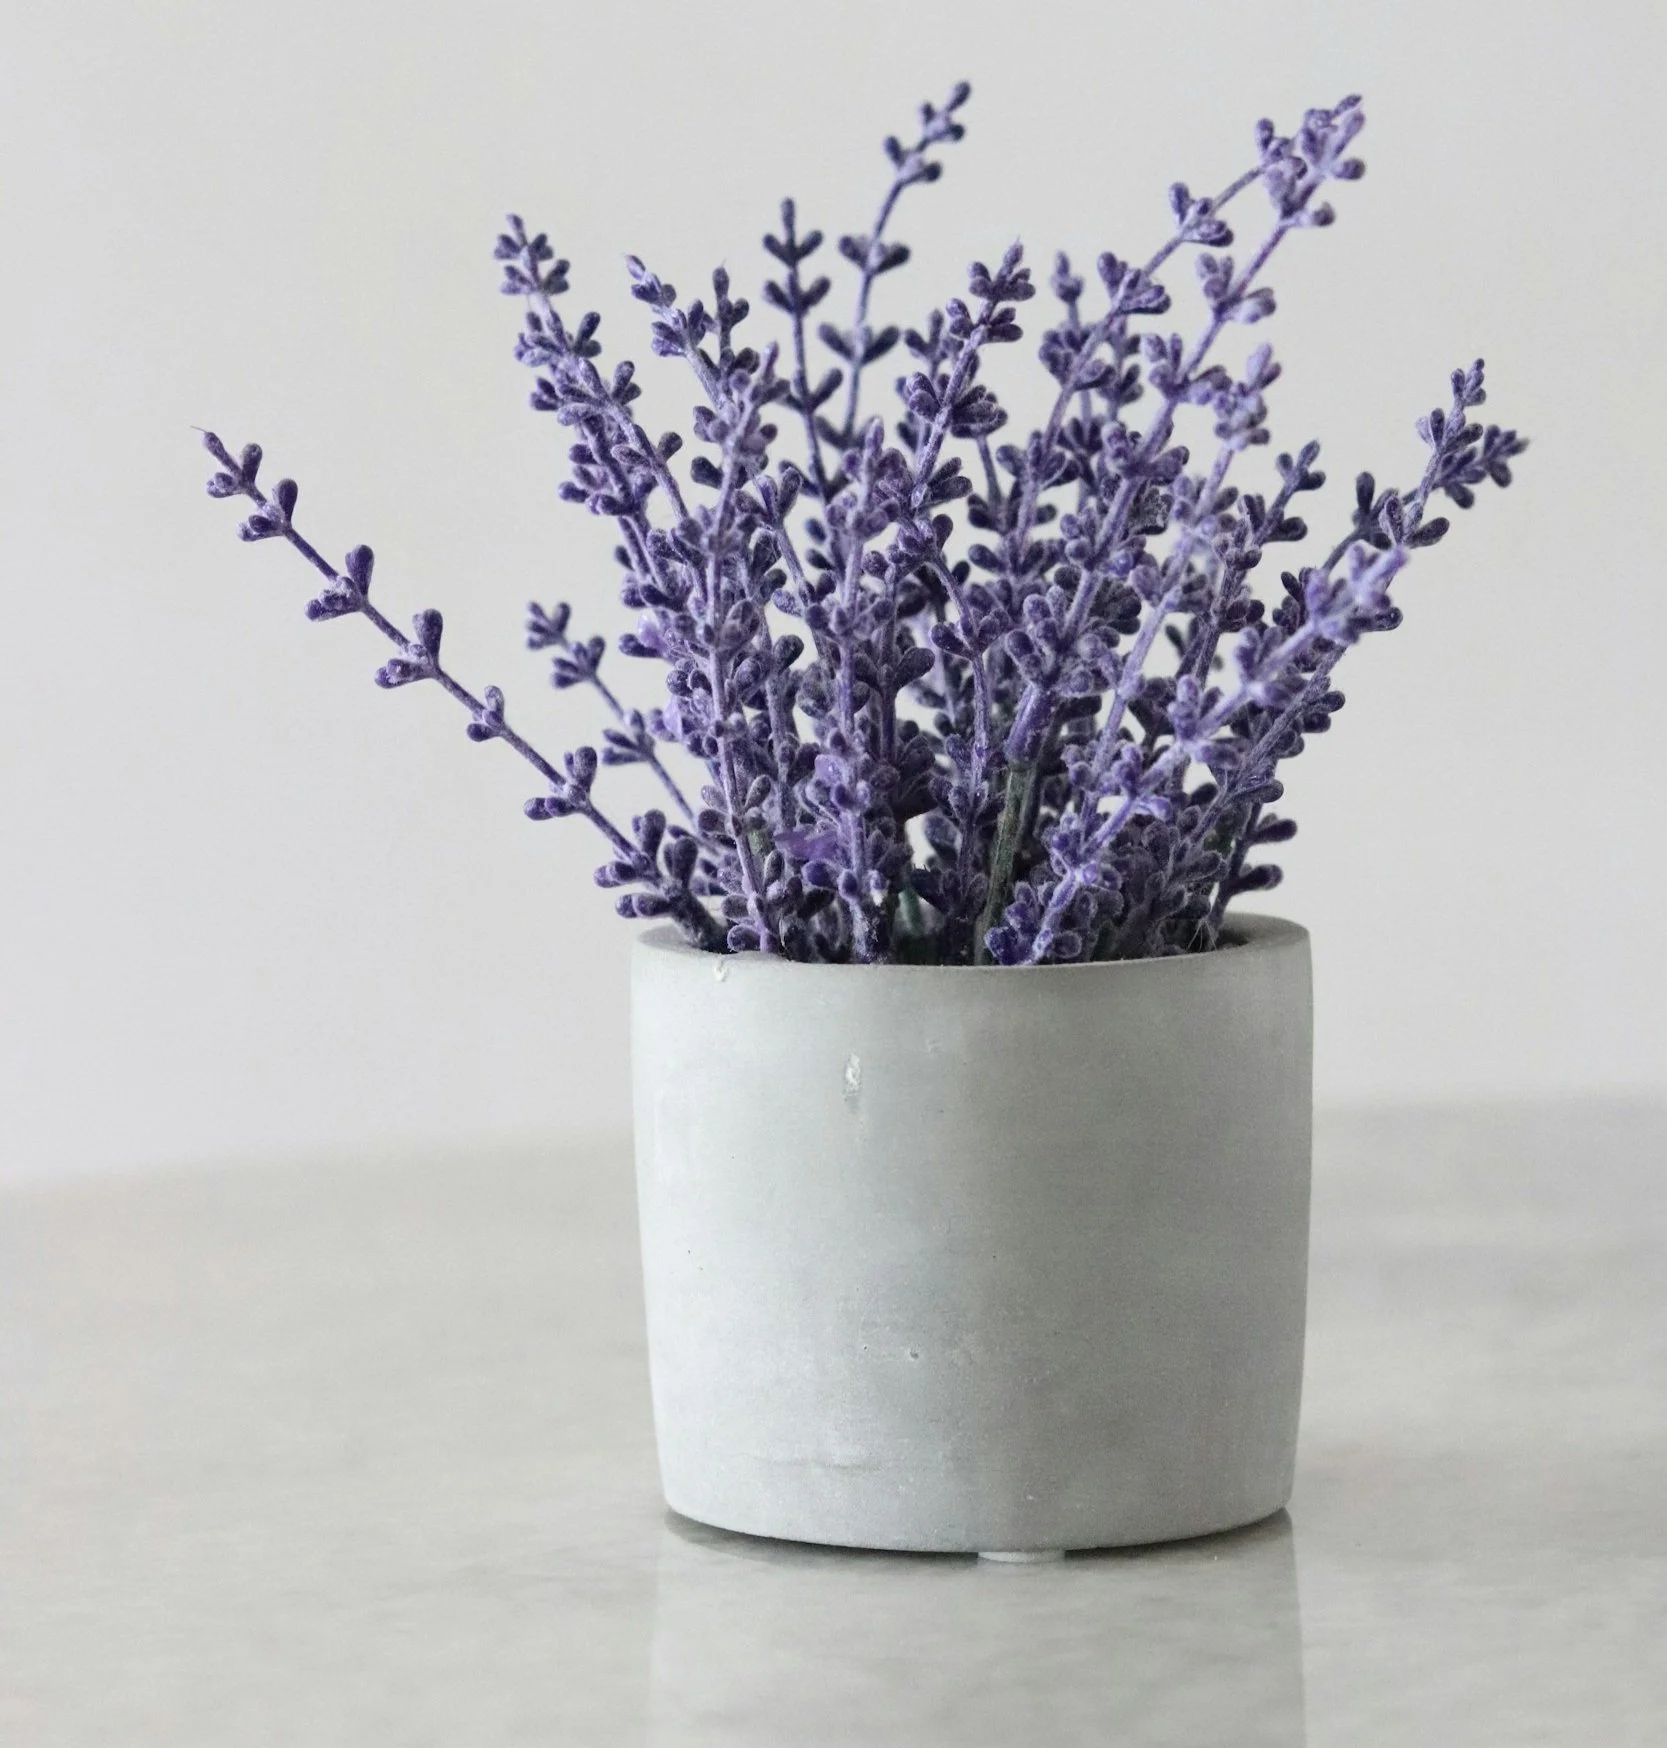
Planting Lavender Indoors
Step 1: Select the Right Lavender Variety
Choose compact varieties like Munstead or Hidcote, which adapt well to indoor environments. Avoid large-growing varieties that may outgrow pots or struggle indoors.
Step 2: Pick the Perfect Pot
Use a pot with drainage holes to prevent waterlogging. Select a container slightly larger than the root ball to give the plant room to grow without excessive soil.
Step 3: Use the Right Soil Mix
Fill the pot with a sandy, well-draining soil mix. A combination of potting soil and coarse sand or perlite works well. Avoid using heavy, moisture-retaining soils.
Step 4: Place in a Sunny Spot
Position the pot in a location that receives 6-8 hours of direct sunlight daily, such as a south-facing window. If sunlight is insufficient, supplement with a grow light.
Step 5: Water Wisely
Water only when the top inch of soil is dry. Lavender does not like soggy roots. Reduce watering frequency during the winter months when the plant’s growth slows.
Step 6: Rotate and Maintain
Rotate the pot every week to ensure even exposure to sunlight and prevent the plant from leaning. Prune lightly to maintain shape and encourage new growth.
Step 7: Monitor for Issues
Watch for signs of overwatering, such as yellowing leaves, and adjust your watering routine accordingly. Keep an eye out for pests like spider mites or aphids, and treat infestations with natural remedies like neem oil.
By following these step-by-step instructions, you can enjoy healthy, thriving lavender plants in your garden or indoors. Whether you’re enhancing your outdoor space or bringing nature inside, lavender’s beauty and fragrance are worth the effort!
View Our Lavender Plant Selection